使用Hexo+Github Pages搭建个人博客

很多人都有个人博客的需求,搭建博客的方法也多种多样。本文将介绍如何利用Hexo框架搭建博客,并使用Github Actions自动部署到GitHub上。
创建Hexo项目
Hexo官方文档:https://hexo.io/zh-cn/docs/
前提条件:需要有Node.js环境
- 安装
1 | npm install -g hexo-cli |
- 创建站点
1 | hexo init <folder> |
此时站点的基础框架搭建成功!接下来就可以进行简单的写作了。当然,你可以根据官方文档进行个性化修改,如更换主题等。
部署到Github
创建博客仓库
此仓库存放生成的静态页面。
仓库注意项:
- 必须为公有仓库
- 仓库名为
<username>.github.io
一键部署
- 安装
hexo-deployer-git
1 | npm install hexo-deployer-git --save |
- 修改Hexo项目
_config.yaml文件
1 | deploy: |
- 推送到Github
注:除非你使用令牌或 SSH 密钥认证(推荐使用),否则你会被提示提供目标仓库的用户名和密码。
1 | hexo clean&&hexo deploy |
此时,你已经完成了使用Hexo搭建博客并部署到Github上的任务。
但若感觉每次都需要重新部署太过繁琐,则可继续往后看如何使用Github Actions自动部署。
Github Actions自动部署
本文使用
hexo-theme-keep项目提供的自动部署脚本hexo-deploy-github-pages-action
- 创建源码仓库
此仓库存放博客站点的源码。最好为私有,保证安全。
为避免不必要的文件上传,Hexo范例提供的 .gitignore 文件如下:
1 | .DS_Store |
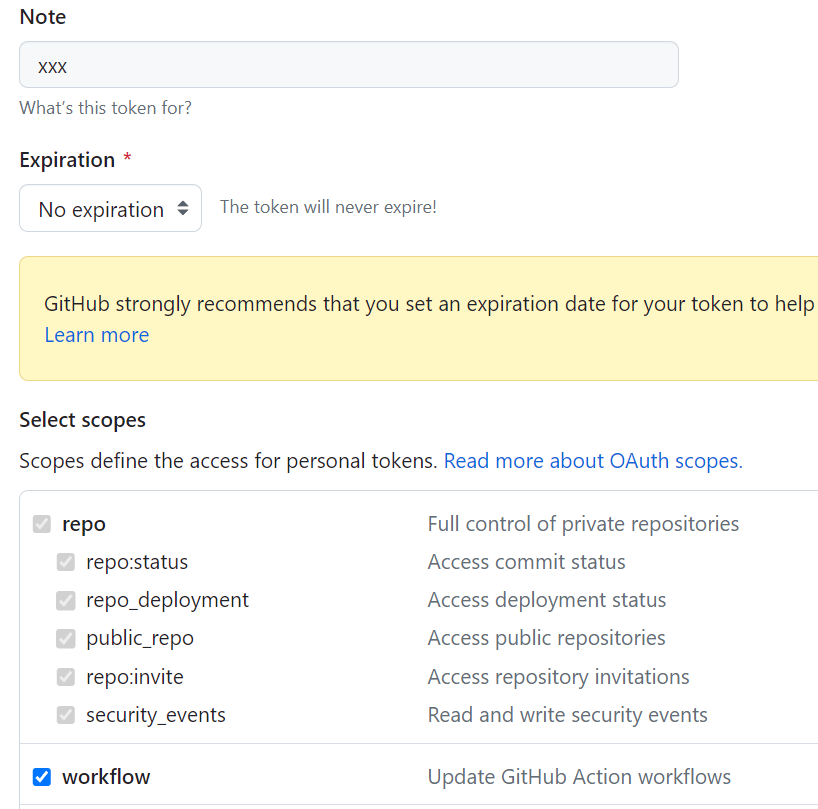
- 创建一个有 repo 和 workflow 权限的 GitHub Token。
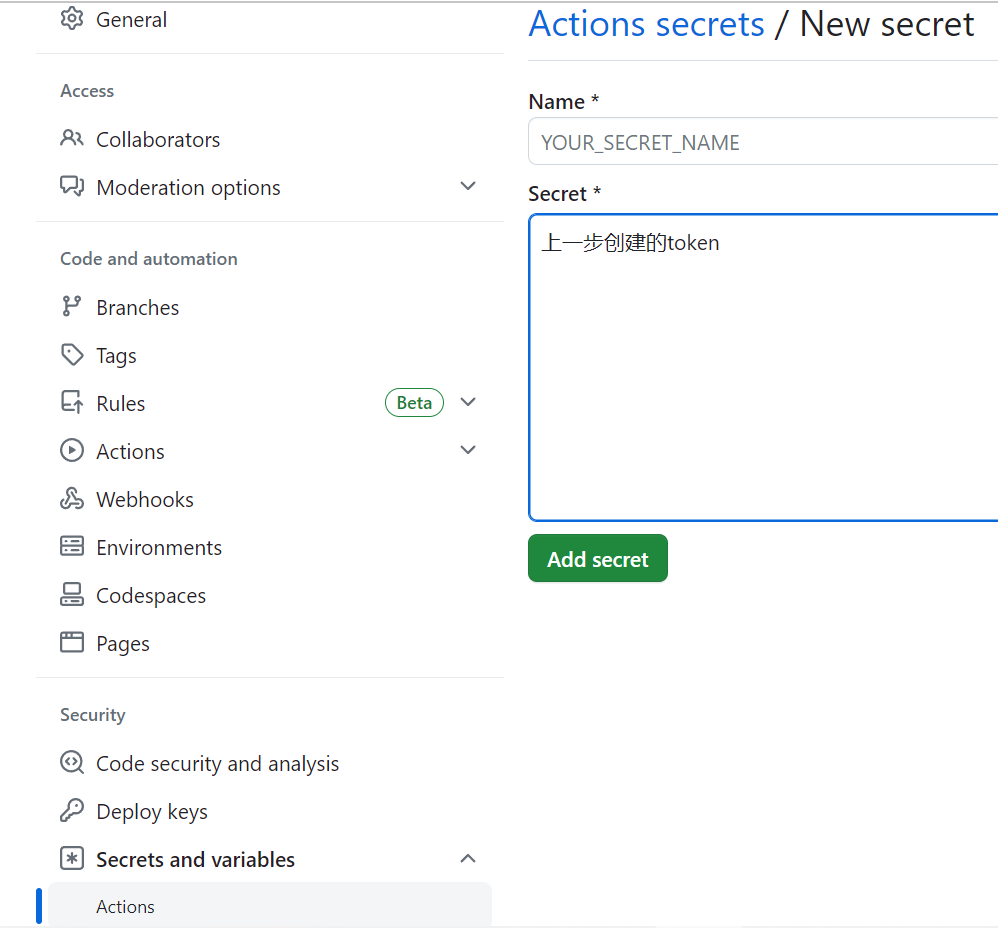
- 将token添加到私有源码仓库的
Secrets
- 在Hexo项目的
.github/workflows目录下创建一个xxx.yml文件,模板如下:
1 | name: deploying Hexo project to GitHub pages |
至此,自动部署完成!
参考文章
- 本文标题:使用Hexo+Github Pages搭建个人博客
- 创建时间:2023-06-12 21:40:53
- 本文链接:2023/06/12/tool/使用Hexo-Github-Pages搭建个人博客/
- 版权声明:本博客所有文章除特别声明外,均采用 BY-NC-SA 许可协议。转载请注明出处!
评论